


Four-Fanged Offense (Lloyd)
Overall
| Conditions | New Units | ||||
|---|---|---|---|---|---|
|
|


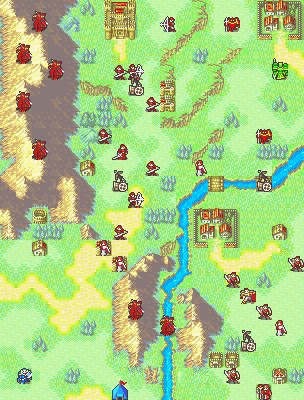
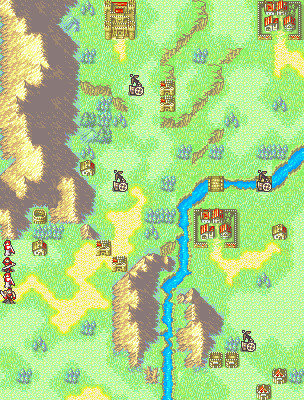
Map Data
| Player | Enemy | NPC |
|---|---|---|
| 12+1 | 17+13 | 1 |
Boss Data
LloydLevel 12

| Class | Inventory |
|---|---|


| HP | Str | Skl | Spd | Lck | Def | Res | Con |
|---|---|---|---|---|---|---|---|
| 44 | 19 | 21 | 21 | 16 | 9 | 16 | 9 |
Click to inspect
Obtainable Items
| Item | Source |
|---|---|
| Dropped by enemy Sniper (Normal Mode) | |
| Dropped by enemy Monk (Hard Mode) | |
| Visit northern village | |
| Visit southern village | |
| Steal from enemy Myrmidon | |
| Steal from enemy Mercenary (Hard Mode) |


Shops
| Shop | Items/Price |
|---|---|
| Armory, left |
|
| Armory, right |
|
| Vendor, left | |
| Vendor, right | |
| Secret Shop (Appendix 8) |
|


Reinforcements
- Before the player phase of turns 2, 3, 4, 6, 7, 8, 10: 2 Myrmidons spawn near the castle (Appendix 1). Note that the right Myrmidon will probably spawn above the ballista tile, since the nearby Sniper will occupy it.
- Before the turn 3 player phase: 1 Brigand spawns from the southeastern corner (Appendix 2).
- Before the player phase of turns 3 to 6: 1 Brigand spawns to the left of the castle (Appendix 3).
- Before the player phase of odd turns 3 to 9: 1 Myrmidon, 1 Monk spawn from the forts near the castle (Appendix 4).
- Before the player phase of turns 4, 6, 7: 2 Wyvern Riders spawn from the northwestern corner (Appendix 5).
- Before the player phase of turns 4, 5, 9, 10, 11: 2 Monks spawn from the forts near the starting position (Appendix 6).
- Before the player phase of turns 7 to 9: 2 Monks, 1 Myrmidon, 1 Mercenary spawn along the western border near the starting position (Appendix 7).
Notes
- There is an Arena on this map.
- You will play this chapter if your lords' combined levels are below 50.
- This map has fog of war, with a default sight distance of 3 tiles.
- There is a Secret Shop in this chapter, indicated by the red square in Appendix 8.
- Lloyd has an A support with Linus, who does not appear on this map.
- Lloyd will move to attack you if you enter his range.
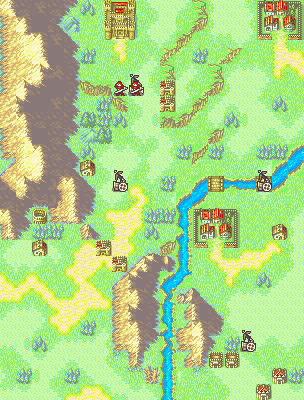
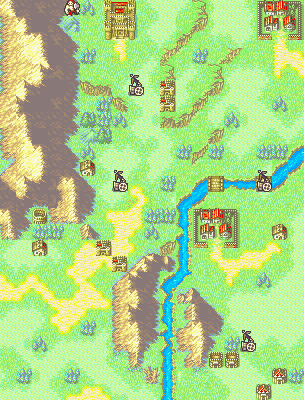
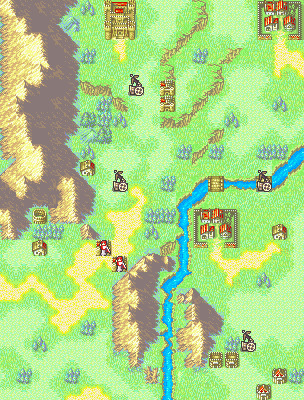
Appendix
Click to inspect

Click to inspect
Click to inspect

Click to inspect

Click to inspect
Click to inspect
Click to inspect

Click to inspect